


How to renovate your kitchen, Renovating your home
Change your kitchen floor in 7 easy steps
Jul
Changing your kitchen floor in a quick way to breath life into an old looking kitchen. Kitchen renovations are expensive projects. Most kitchens are built to last but it’s not unusual to want a change to your décor though – a change that might seem impossible to achieve if you’re looking at your kitchen.
The most expensive things to replace are the cabinets themselves. Wall tiles can also be pricey and a pain to remove and replace. So, what does that leave you with? Well, there are two areas that are easy to change:
- The walls
- The floor
Walls are the easiest of all because you can repaint or repaper them. But what about the floor? Surely you need to take up those tiles before you can lay something new. The same applies to concrete or floorboards if they’re looking battered.
In truth, it depends on what you choose to lay in place of your existing floor. If you go for a luxury vinyl floor, you might be surprised at how easy it is to lay. Here’s how to do it in seven easy steps.
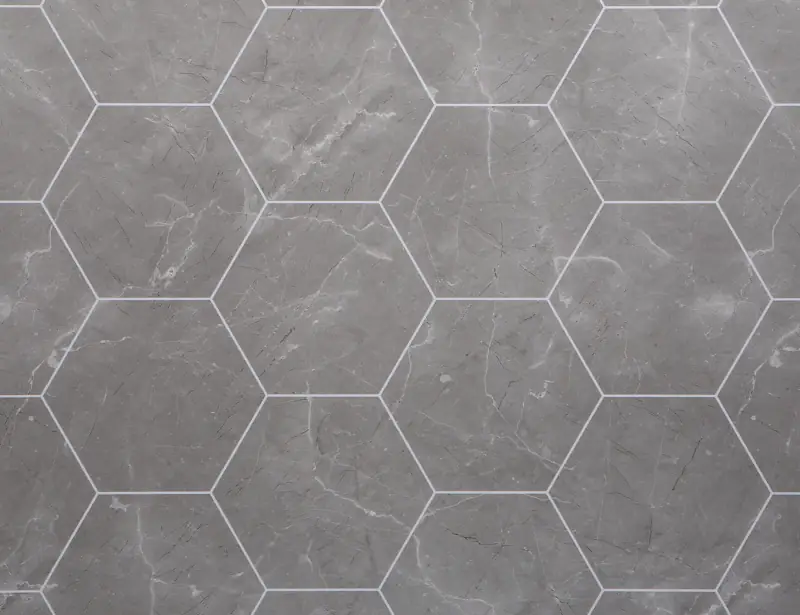
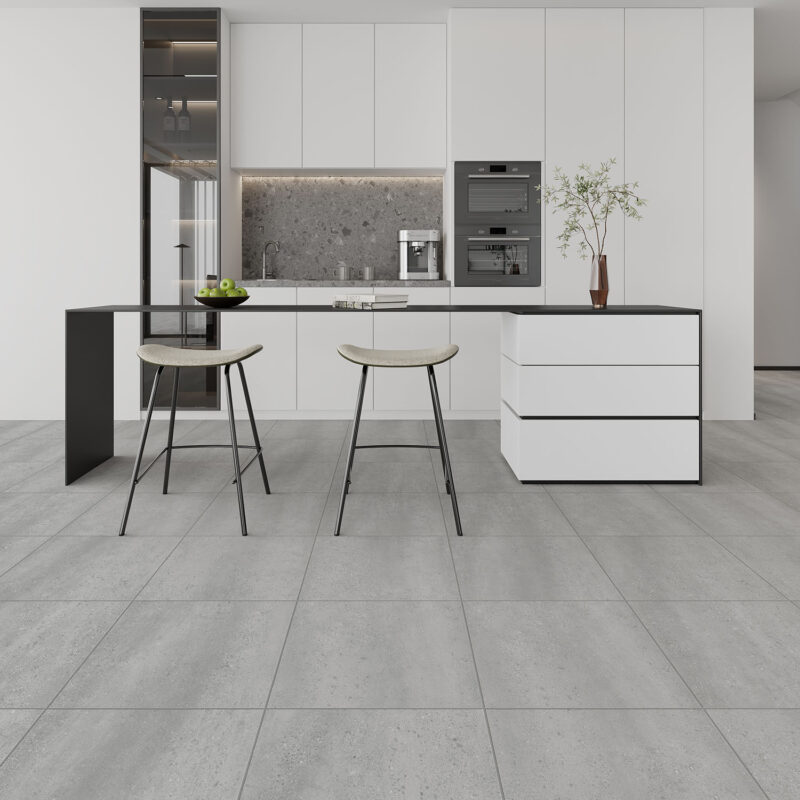
1: Choose your design
Will you go for stone effect or wood effect? Which colour will complement your kitchen? Make your choice and then work out how many packs you’ll need. Measure the length and width of your room in metres and multiply the two to get the square metres. Then divide that by the m2 provided in each box.
2: Choose Clever Click Rigid
Clever Click Rigid is a stone polymer composte (SPC) flooring solution designed for the demands of real homes. SPC stands out for its durability and ease of installation. This combination of strength and convenience makes it a practical choice for any room in your home.

3: Clean the existing floor
Sweep, vacuum, and wash the floor (where appropriate). You don’t want any dirt or grit underneath the vinyl.
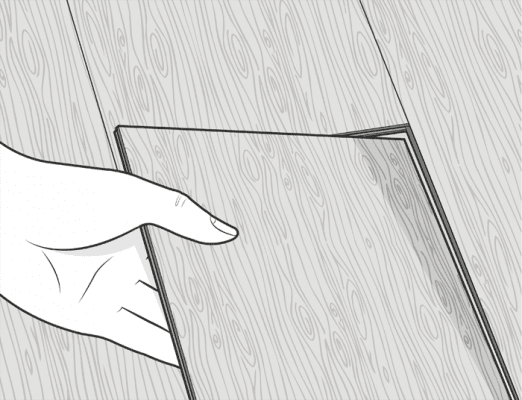
4: Start laying the boards
Once you’ve checked all the packs are from the same batch (they should have matching batch numbers), you can begin laying them. Choose a wall and get started, cutting the final board to size before popping it into place. Remove the groove from the panel that is facing the wall, so there’s a good fit.
5: Click the next row into place
Each row clicks seamlessly into the last, reducing the amount of time it takes to complete your new kitchen floor.
6: Rinse and repeat
Repeat these steps to add new rows of flooring across your kitchen. Remove the plinths from under the kitchen units if you have them, and make sure the panels tuck underneath. You can then trim the plinths and reattach them to the cabinet legs.
7: Cut out appropriate gaps to accommodate radiator pipes and other fixtures
Chances are you’ll have a few radiator pipes or other pipework to go around when fitting the boards. In which case, mark out the area to be removed on the board and then use a jigsaw to cut straight lines to remove the unwanted section.

For an inexpensive kitchen renovation, changing the floor is far easier than changing your entire kitchen. Hopefully, this has inspired you to do just that.