
Neptune 250
Neptune 1000
Super Matt
Odyssey
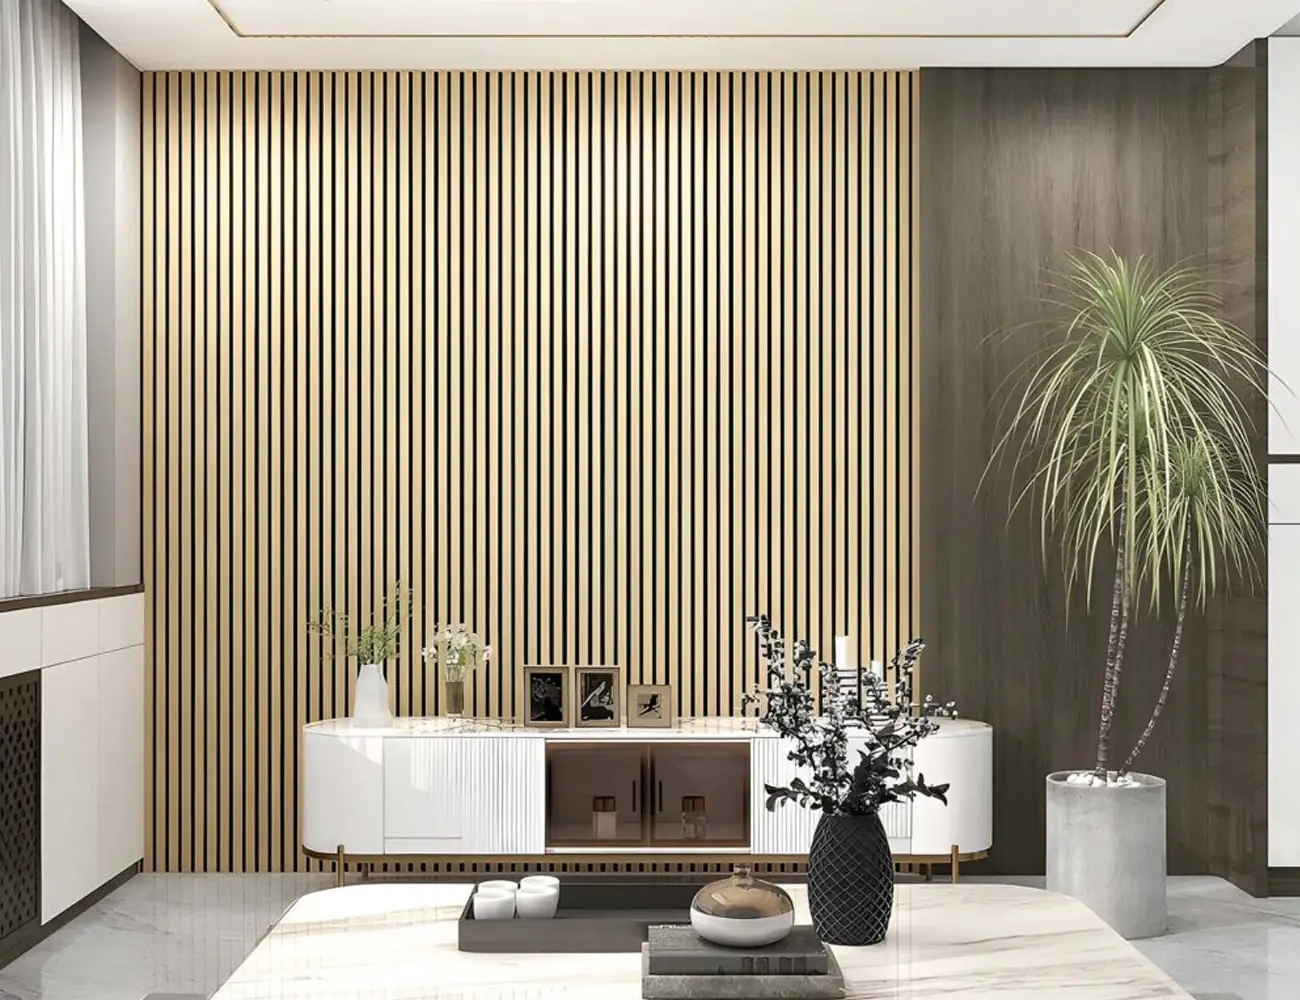
Acoustic Panels


Installing PVC wall panels might seem like a big task at first, but it’s one of those DIY jobs that’s surprisingly manageable once you get started. We’ve helped hundreds of customers across the UK transform their bathrooms, kitchens, and utility rooms with panels that are simple to fit and easy to maintain.
Whether you’re mounting panels directly to plaster, over existing tiles, or even over painted wallpaper, you don’t need specialist tools or building experience. With the right prep and a steady hand, you can achieve a smooth finish that looks professionally done.
Start by measuring your space. It’s best to begin in the most visible corner and work outwards. Make sure you have all your materials to hand before starting: panels, trims, adhesive, a saw or knife, silicone sealant, and a level.
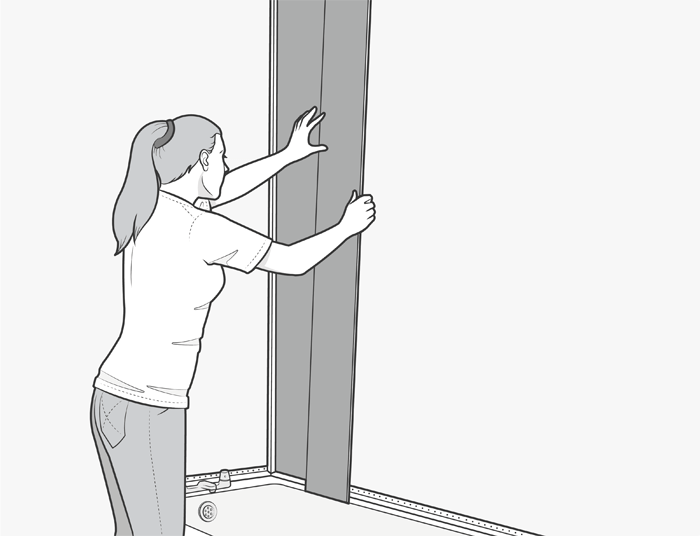
Apply adhesive vertically on the rear of the panels, and press firmly into place. Use a spirit level to keep everything straight. For bathrooms and wet areas, run a thin bead of silicone down each join to protect against moisture.
For walls and ceilings alike, you’ll need:
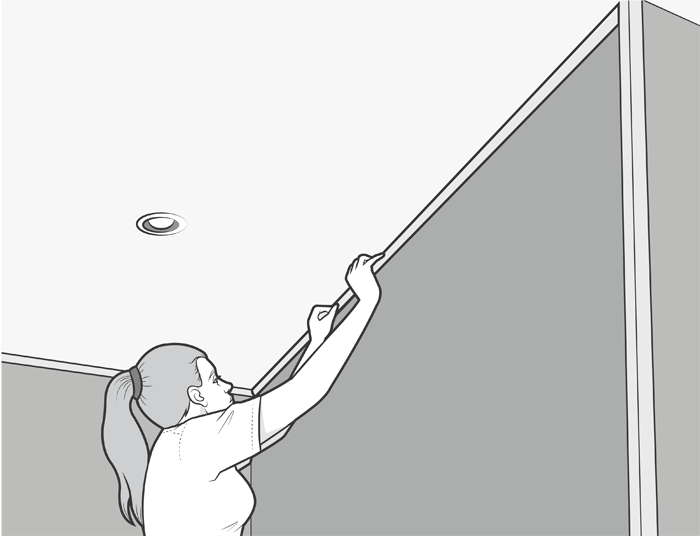
Ceiling installation is much like walls, just horizontal. Take care when working above your head and use proper support until panels are secured.
We find PVC panels are most popular in bathrooms and wet rooms. That’s because they don’t absorb moisture, don’t need grouting, and can be cleaned quickly with a cloth. They’re also great in kitchens, utility rooms, and even offices where regular paint might discolour.
If you’re wondering about fitting over wallpaper, yes, you can. As long as it’s smooth and firmly stuck down, it makes a fine base. If it’s peeling or textured, remove it and prep the wall underneath instead.
From experience, acclimatising your panels to the room before fitting helps avoid small shifts or buckling. We also recommend dry-fitting the first two panels before applying glue to be sure everything lines up correctly.
Remember to work slowly when cutting around sockets or pipes. We suggest using masking tape on the panel face to avoid surface scratches during cutting.
The biggest mistakes we see come from rushing. Take your time with the first few panels, and the rest should flow easily. Always start from the most visible point in the room and finish in less noticeable areas, so any trimming or slight gaps are hidden from view.
We’re here to help with product advice and installation questions. Whether you’re planning a complete bathroom makeover or updating a single wall, our PVC panel installation guide should make the process much simpler.
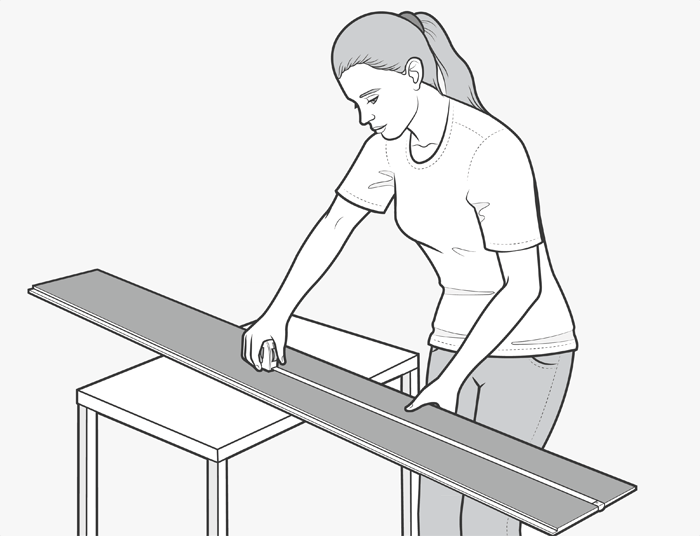
First measure the panel carefully before cutting.

Our panels are quickly and easilycut to length.
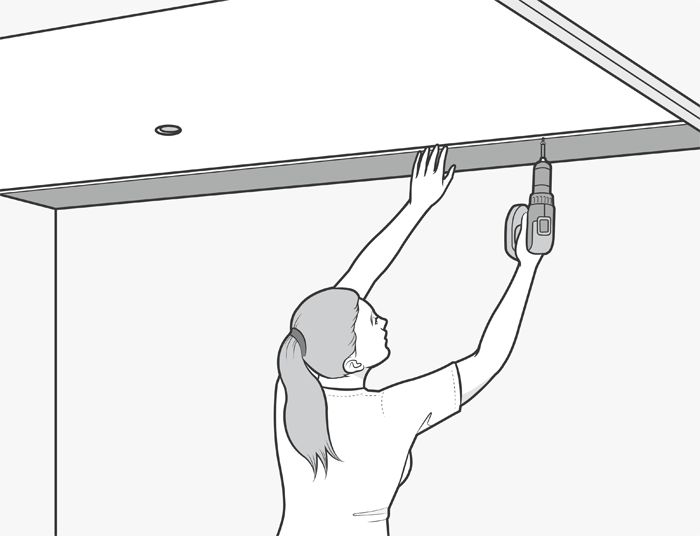
There is no need for wall plugs. Repeat this procedure for the rest of the ceiling panels.
The tongue and groove system allows each panel to slot neatly into one another.

Measure from the corner of the bath to the end on both sides.
Clad seal strips ensure a water tight seal between the panels and the bath or show tray.
Place the strips in position to make sure they fit correctly.
Using the alcohol wipes, wipe the surface of the bath where the strip will sit.

A special type of adhesive is used with the clad seal strips which guarantees water tightness.


The corners where two strips connect can also be sealed at this point. Screws can be used to lock the strip to the wall and stop it moving.

Internal corner trims are used to join two panels as they meet an internal corner

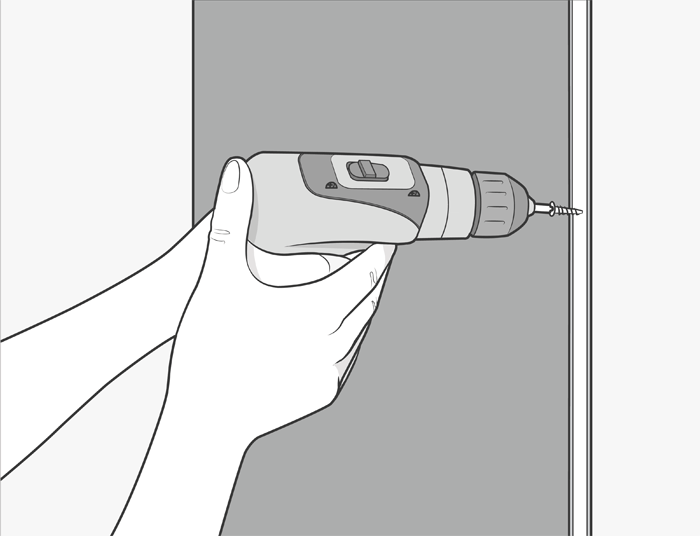
While the adhesive will hold these panels in place in most cases, it may be required to screw panels into battens if the wall surface is uneven.

If any silicon seeps out onto the surface of the panel, remove it immediately with a damp cloth..

If any silicon seeps out onto the surface of the panel, remove it immediately with a damp cloth.
Panels can be glued directly onto and over existing firm, clean and dry substrates, example plaster boards, plywood, tiles, paint etc.
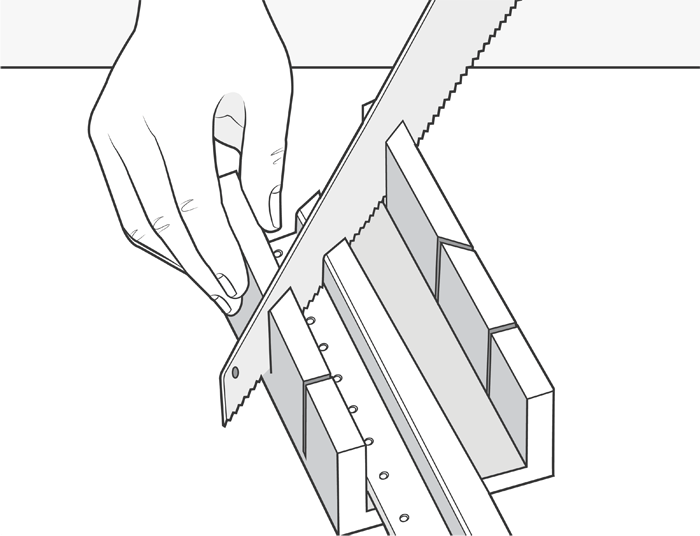
Measure carefully before cutting the coving to the correct length and use the mitre block for the corners. Check that the corners fit tightly before applying adhesive.
The coving can then be stuck directly to the wall and ceiling using a combination of silicone and double sided tape.

Ensure that the room is properly ventilated for 24 hours.
Allow 24 hours for the silicone sealant to fully dry.


